HOW
TO MAKE YOUR OWN TAROT CLOTH
By Cheryl Ann Gardiner
Deck featured here is a 1968 original Albano Waite by Frankie Albano published by Tarot Productions, Inc.
Have you ever looked for a Tarot cloth for that special new deck and just can't seem to find what you're looking for? Or it just doesn't feel right or has that certain feeling to it? If so, you're not alone.
Well, I'm going to explain how to make your own. One that meets your expectations and has a certain feel to it - your energy!
First, I'd like to explain that it is an old belief that Tarot cards should be kept covered or wrapped in silk. The silk is supposed to retain the cards positive energy. Many believe this and that's fine. For those of you who believe by putting your own positive energy into making your own cloth, that is fine too. It's whatever feels right to you.
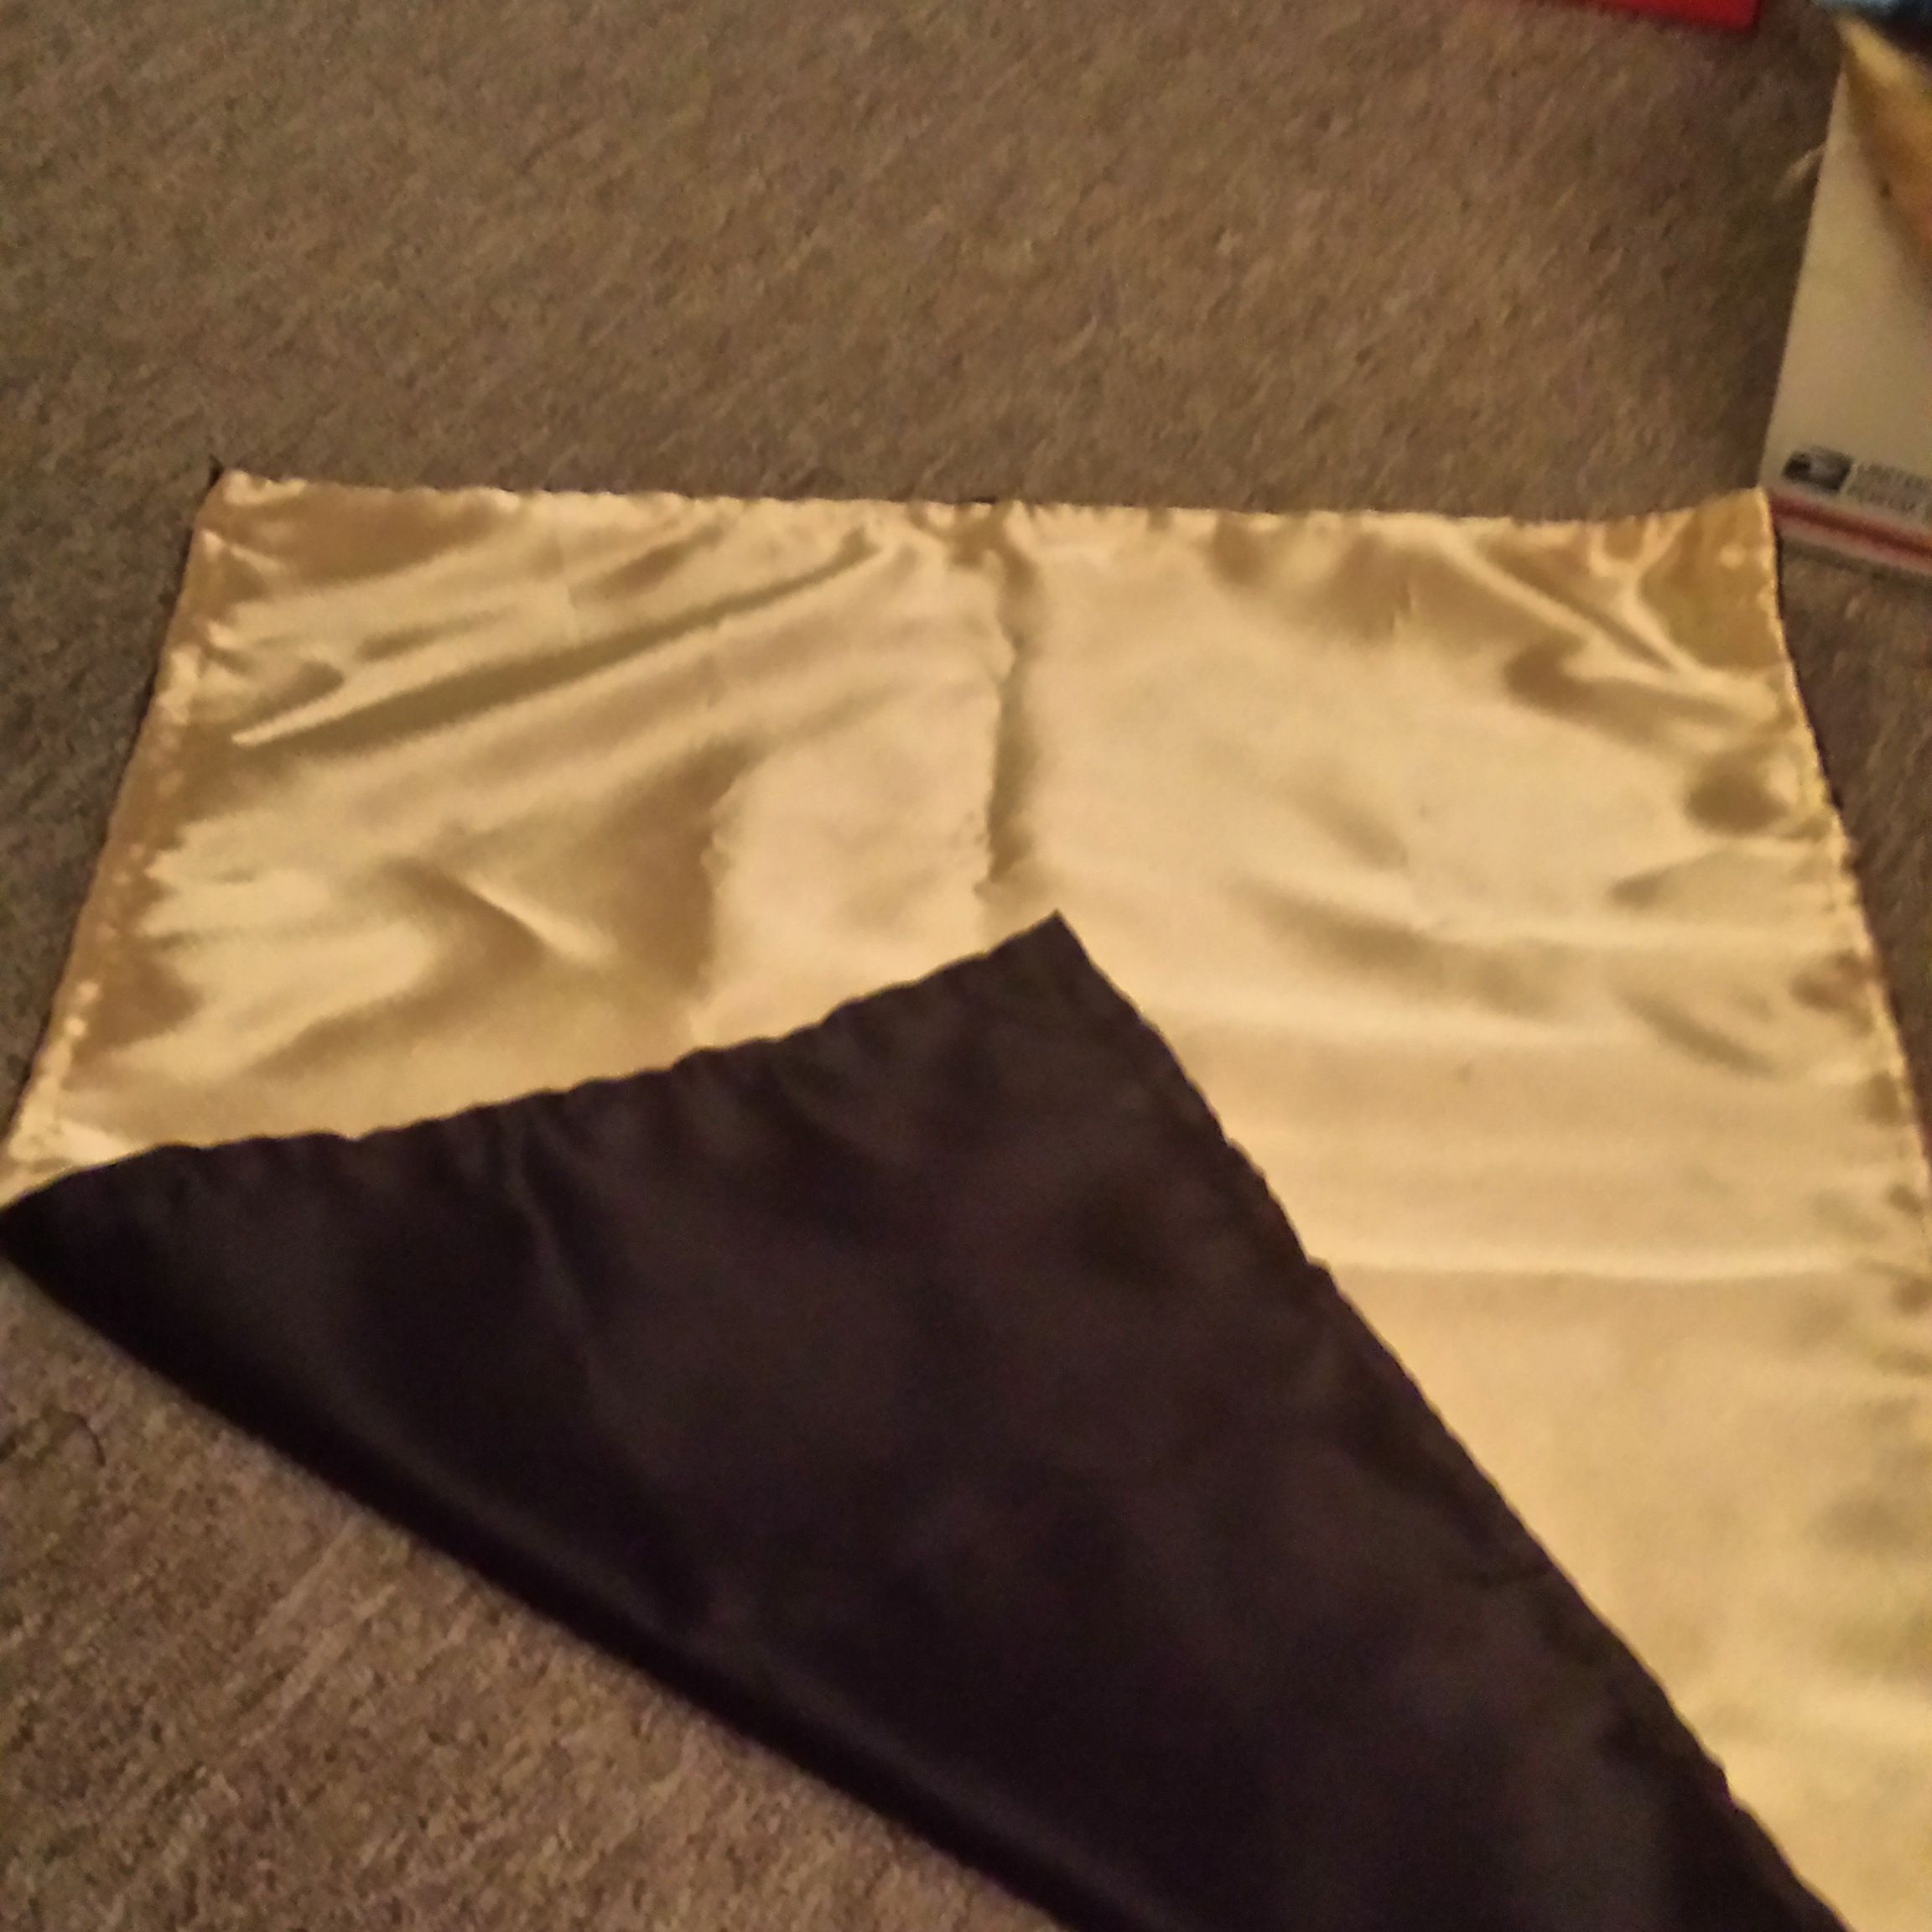
Personally, I like cotton, satin, velvet and embroidered fabrics to create mine. I try to use a fabric that won't be distracting to me while I'm reading the cards placed on it. Usually, I make my cloths so they are reversible.
INSTRUCTIONS:
Materials Needed:
• Thread (to match your fabric the best way possible and a sewing needle or a prepared
sewing machine.)
• Scissors
• Measuring tape and or ruler
• About 3/4 to 1 yard of fabric. (I typically make a 26"X26" Size Tarot cloth) - Wash and Dry (or hang dry your material if needed) If there are wrinkles you can always put a towel over your material, then with the iron at a low setting, slowly and carefully get the wrinkles out. If you don't have an iron, a hair flat iron will do the trick. (One fabric per side, equaling 2 pieces).
• Pins - Preferably with different colored heads. I find these types of pins are easier to see when working with.
• Optional
○ White Marking Chalk
Supplies for Border/Trim
I
like to first purchase my material, then I decide on a border/trim.
Sometimes I prefer decorative embellishments, such as cloth ribbon.
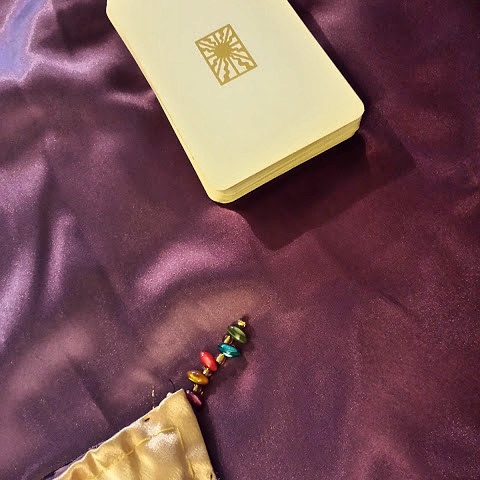
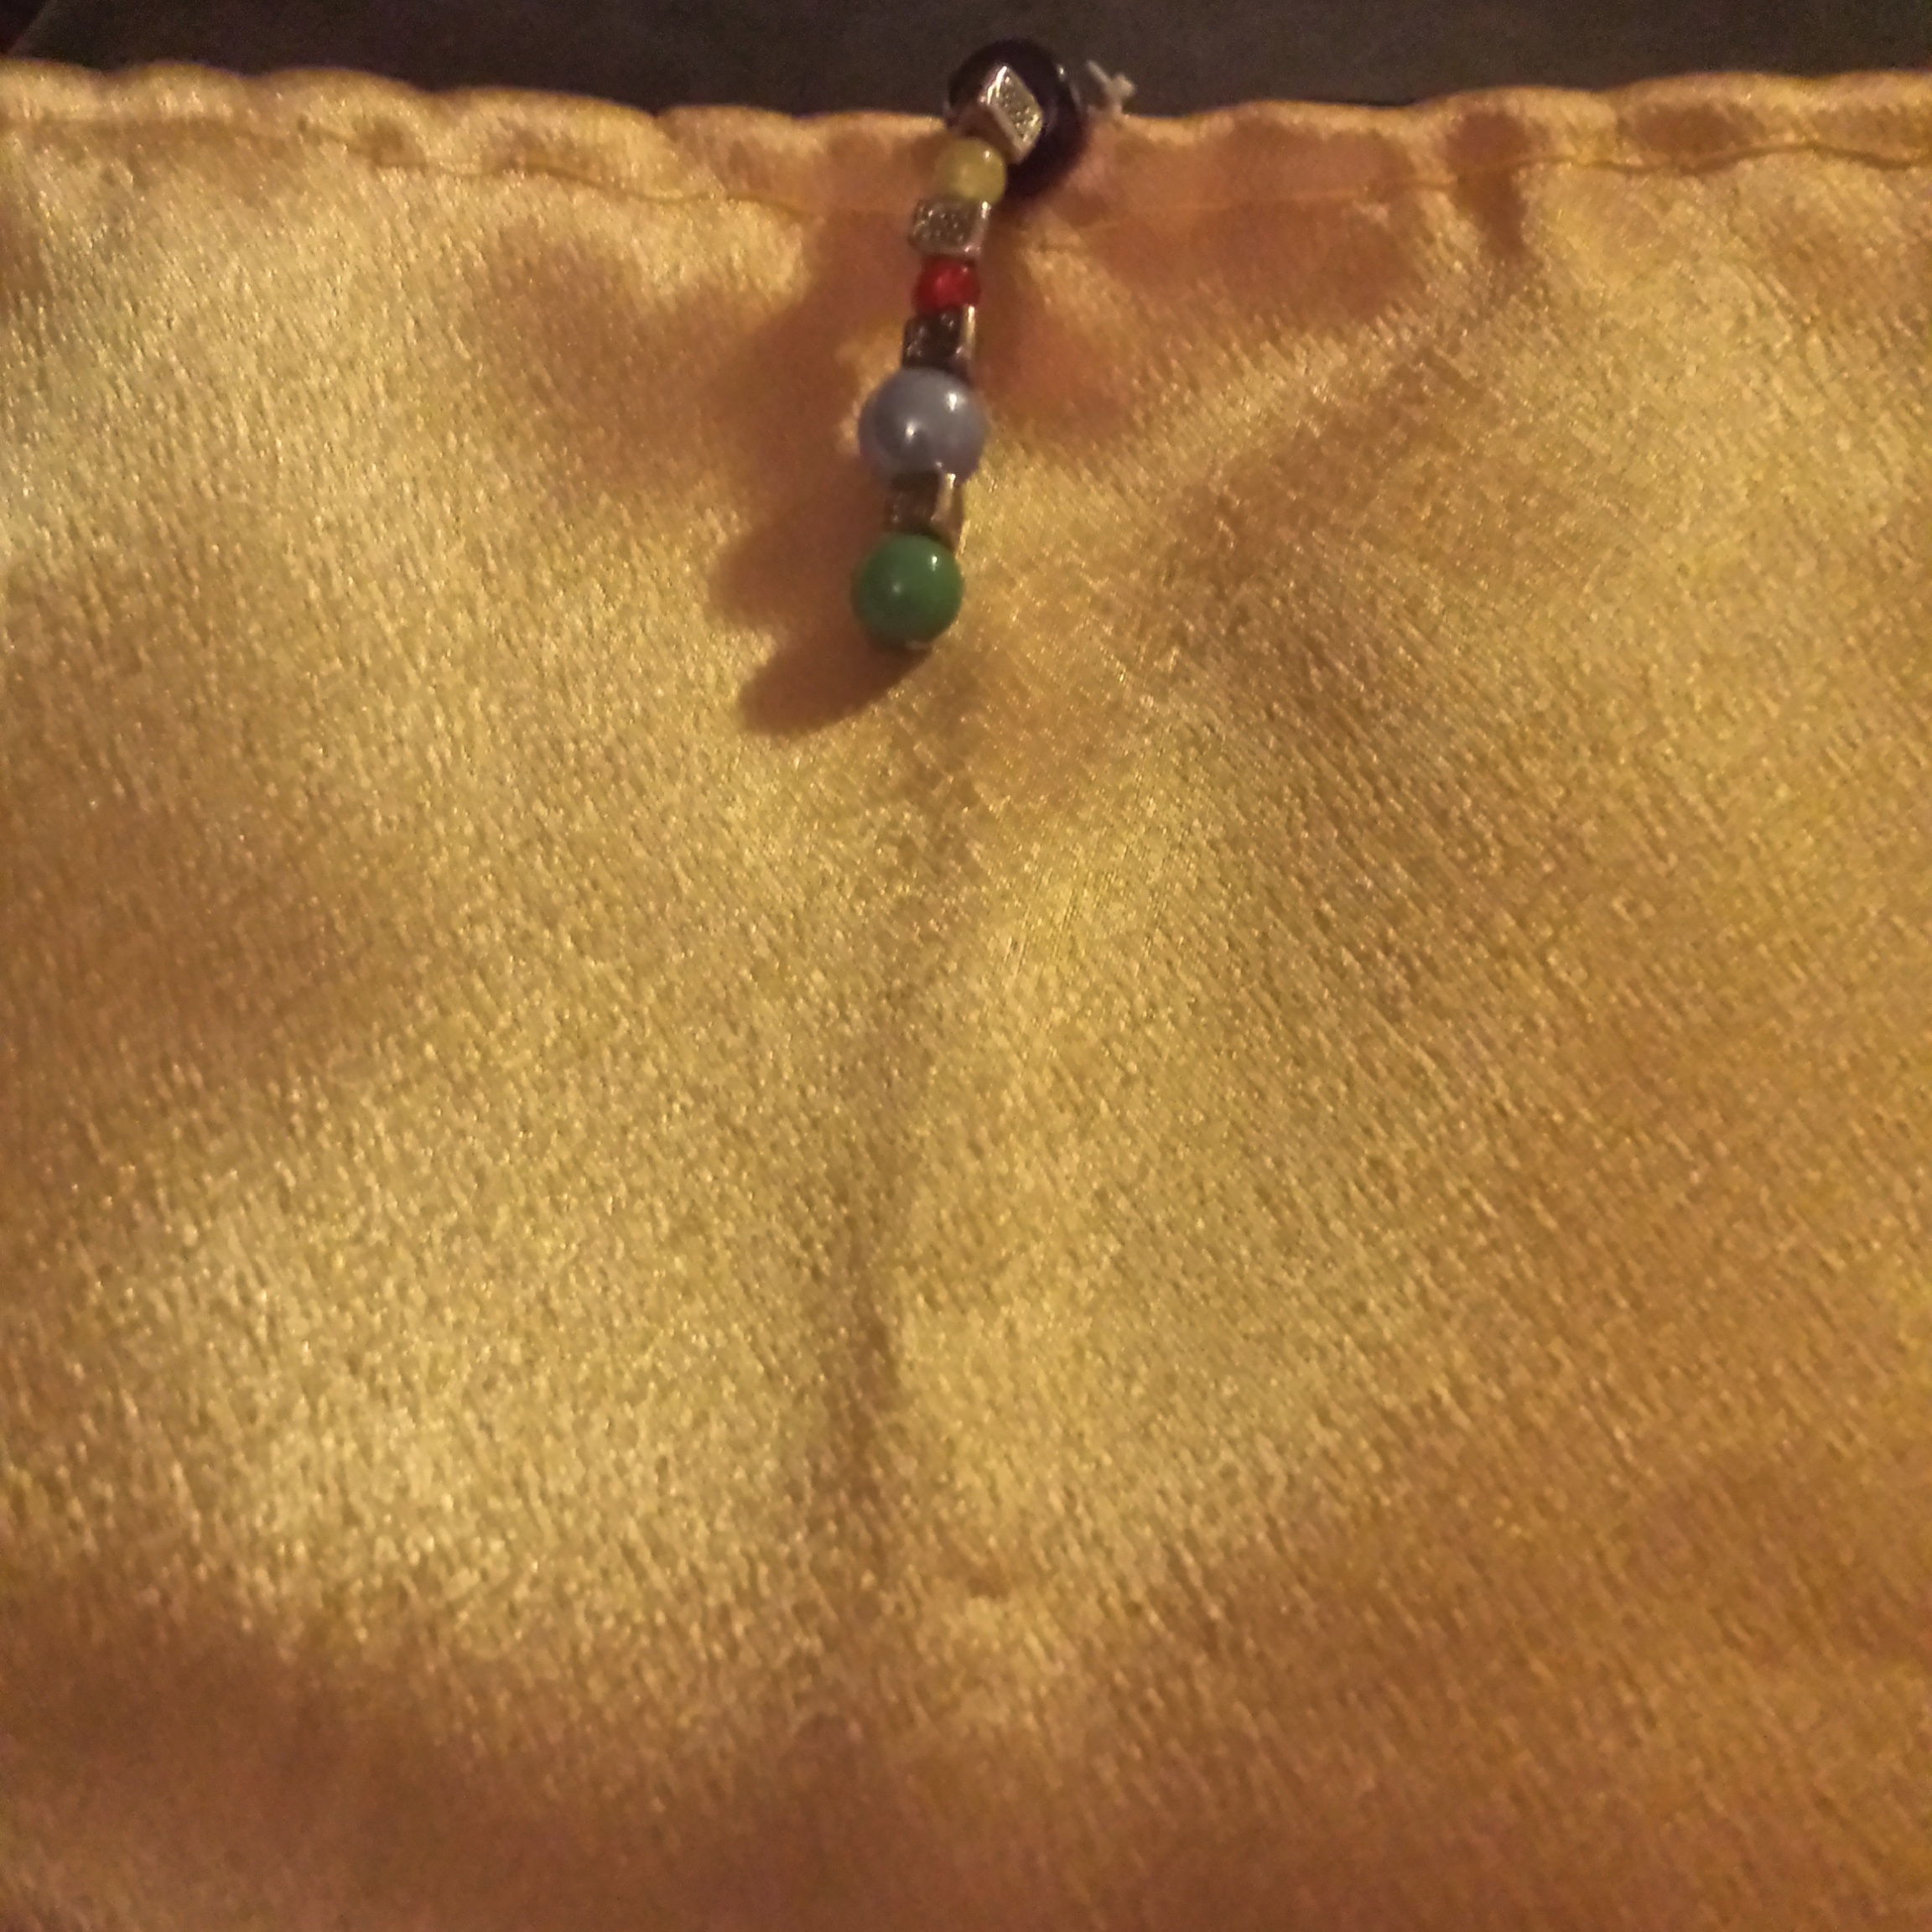
Other times I may only add a few beads at the top center. For
example, I may center 5 beads to hang down. For my beliefs, I would
first put a purple bead (representing Spirit), followed by a yellow
bead (representing East - Air), a blue bead (representing West - Water), a red bead (representing South -
Fire), and then a green bead (representing North - Earth). Other
times, I may place beads representing Spirit and the four elements in
each corner of the cloth.
Now for my big projects, I usually save those for those blustery winter days, when I'm stuck in the house for a while. Days such as those, I venture into beading the entire span of my Tarot cloth. I will be sharing "How To" in a future article on "Hand Beading".
1. I suggest going to a discount fabric store like, Michaels Craft Store, Joann Fabrics, Walmart or even finding scraps of material or old scarves you may have around the house. Where I'm located, I go to a store called, "Jomar," www.jomarstores.com. I find they have a huge selection at discounted prices and have fabric ready in the sizes you need.
2. Make sure you take your first piece of fabric and lay it out smooth (assuming you already washed and dried material). Measure with your measuring tape or ruler very carefully to the size you want. Allow 1/8- 1/4 inch extra fabric all the way around. As you do this, you can fold over your fabric 1/8- 1/4" and pin as you go along. NOTE: You may prefer to fold your fabric twice with the cut ends not showing. But this can make the edges bulky and we're going to be mending the front and back together so these edges will not show once we're done. When you feel you have all sides even, you can make marks with white chalk and flat iron if you prefer. Whichever way feels easier for you. Leave the pins in, if you decide you want to skip the chalk and/or flat iron that are fine too.
3. Next, I do the same thing, repeating steps 1 and 2 with my other piece of fabric (the backing). Now you should have two squares or triangles the size you'd like.
4. Take both pieces now and place them together with the wrong sides inside. Double check your measurements with your ruler or measuring tape. If some adjustments need to be made, now’s the time to do it.
6. Once you’re sure your measurements are where you’d like, you can start sewing. I prefer to hand sew. Get a sewing needle ready with your matching thread. I chose a medium size needle to sew my cloths. (I try not to use a large needle that will leave large holes in my cloth-material.) Thread your needle. You can double your thread through your needle or make the thread a single strand. Use a Tailors Knot. (Shown in the YouTube videos)
7. Make sure to double knot your thread. Here are a few YouTube videos to help with hand stitching; also feel free to venture out and find one that works best for you! https://www.youtube.com/watch?v=q_CaLBKLYLE or https://www.youtube.com/watch?v=uJUL3tu-Fec
8. Now, here's where the fun begins! Begin with one of your cloths, with the wrong side facing you. I like to start with the first long end in front of me. I then start all the way to the right of the cloth, while the wrong side faces me, I do a Backstitch. Take your needle at the corner end and come up from underneath the bottom side that is folded under. Once you come up, pull the thread through and return going back into the fabric, going to the right of your stitch and back down. Now you’re going to come up from the underneath again but to the left side of your first stitch, very close the stitch, so that you’re moving down towards the left side of your fabric. This is called a Backstitch. I find this stitch to be best for mending the hems with enough strength to strongly attach. Do this all the way around your cloth and also your second piece of cloth.
NOTE: If while sewing, you run out of thread, before running out, slip the needle through a couple of strands of fabric, leaving the loop, place the needle through the loop and pull to knot. Cut thread, and you can also knot again.
9.
Now, it's time to place both cloths wrong sides together and pin.
We're going to use a thread that works color-wise best to your
choosing. After you are sure of alignment and everything is measured
out correctly, start with an Invisible Stitch or sometimes called a
Blind-Hem Stitch, to mend both pieces together. (Refer to YouTube
Videos if needed.)
NOTE:
Keep an eye on your fabric that both pieces are mending flat. I find
it more difficult for my fabric to lay flat when I’m using large
sizes in a thinner Satin material.
10. After this step, Tarot cloth is finished! Whoa!!!!!! Now, it's time to attach a cloth border, if you'd like. Or attach those final beads you've wanted to use! Be creative and go with what, "feels right to you!"
Be sure to look for the attached pictures for some ideas!
Hope you enjoyed this article! I’m excited to share more new ideas with everyone!
Peace
& Luv,
Cher