Tarot Decorating
By Tabitha Chamberlain
When you love Tarot and art the two can come together by opening a bridge between non-tarotist and tarotists. Living in the Midwest, I can tell you that the general stigma that people have on Tarot still holds strong here. I was showing some of my Tarot decks to people at work on my phone, you could visually see them pulling away. As if they were afraid that images on a phone of a card were going to jump out and hurt them.
In trying to get people to see that Tarot isn't scary, I do something rather simple. I encourage people to look at them as smaller pieces of artwork. Believe it or not, people do start to at least appreciate Tarot for the aspect of artwork only.
How do I get from going from the extreme of pulling away to asking questions? I decorate with Tarot decks. I use the decks that I can't use as a reading deck due to sheer size. I also get the pleasure of seeing some of these decks that I can't use. Here are some easy projects that can be completed in a few minutes to a few hours depending upon how much time and effort you wish to put into them:
Option One: Framing Tarot
-Image of your favorite Tarot card (actual card or a high quality image)
-Picture frame
When choosing a frame keep in mind it's either going to add to the card or distract from it. So you may either want to take the card/image with you when picking one or pick what's called a floating frame. This will put all the focus on the card itself, not the frame.
This is really as simple as it sounds, center your Tarot card in the middle of your frame and place it where you would like to see it. If you choose the Star, you may want to put it by your bed so when you wake up and go to sleep you're remind to be hopeful and look forward to what's to come. If you choose the 10 of Pentacles, may be out in the living quarters like the family or living room for everyone to see and appreciate it.
Option Two: Shadow Box
-Image of your favorite Tarot card/s
-Shadow Box (or glue two thick picture frames together using the back and glass of one frame)
-Small items that represent or mean something in reference to the card/s your choose
-stickers (scrapbooking ones are already textured and layered)
-hot glue gun
-glue sticks
-fabric
As this is going to be a layering effect start by stretching the fabric over the back of what you're using. Then place the card/s down first to get an idea of where you would like them. Add the other items that you wish to add to your box. You could move them to different places or bunch the fabric to look like ripples. It truly doesn't start to develop until you start adding the little stuff. It's also when you'll find where the card/s are "supposed" to be in the shadow box. Be it on the bottom against the fabric or higher up in the layers.
If you have chosen the King and Queen of Cups the fabric could be light blue, white, or silver. You could weave in a length of pearl ribbon around the cards. Or smaller images of oceans and waves. Maybe a cup. Oh duh! Seashells, with a little bit of sand at the bottom of the frame! This may seem like it will be a cute creative expression, but it will give you an intense exploration of yourself and the card or cards you working with.
Play with this until you feel that you have the shadow box how you want it. Now the best way to keep it this way is to either pick up each item and glue it back down with the hot glue gun. Personally I would take several pictures from different angles to use as reference. Clear everything off and start with the bottom layer of the box and work my way up until I was finished.
If you've never used a hot glue gun, please read all of the instructions carefully before using. Remember it is going to be dangerous to use for younger kids, but they could help with the arrangement of the shadow box. I would also suggest practicing a bit on something that you don't mind getting ruined or throwing away. Also lay down something to protect the surface your working on. Hot glue can get stringy. It doesn't scrub off easily either.
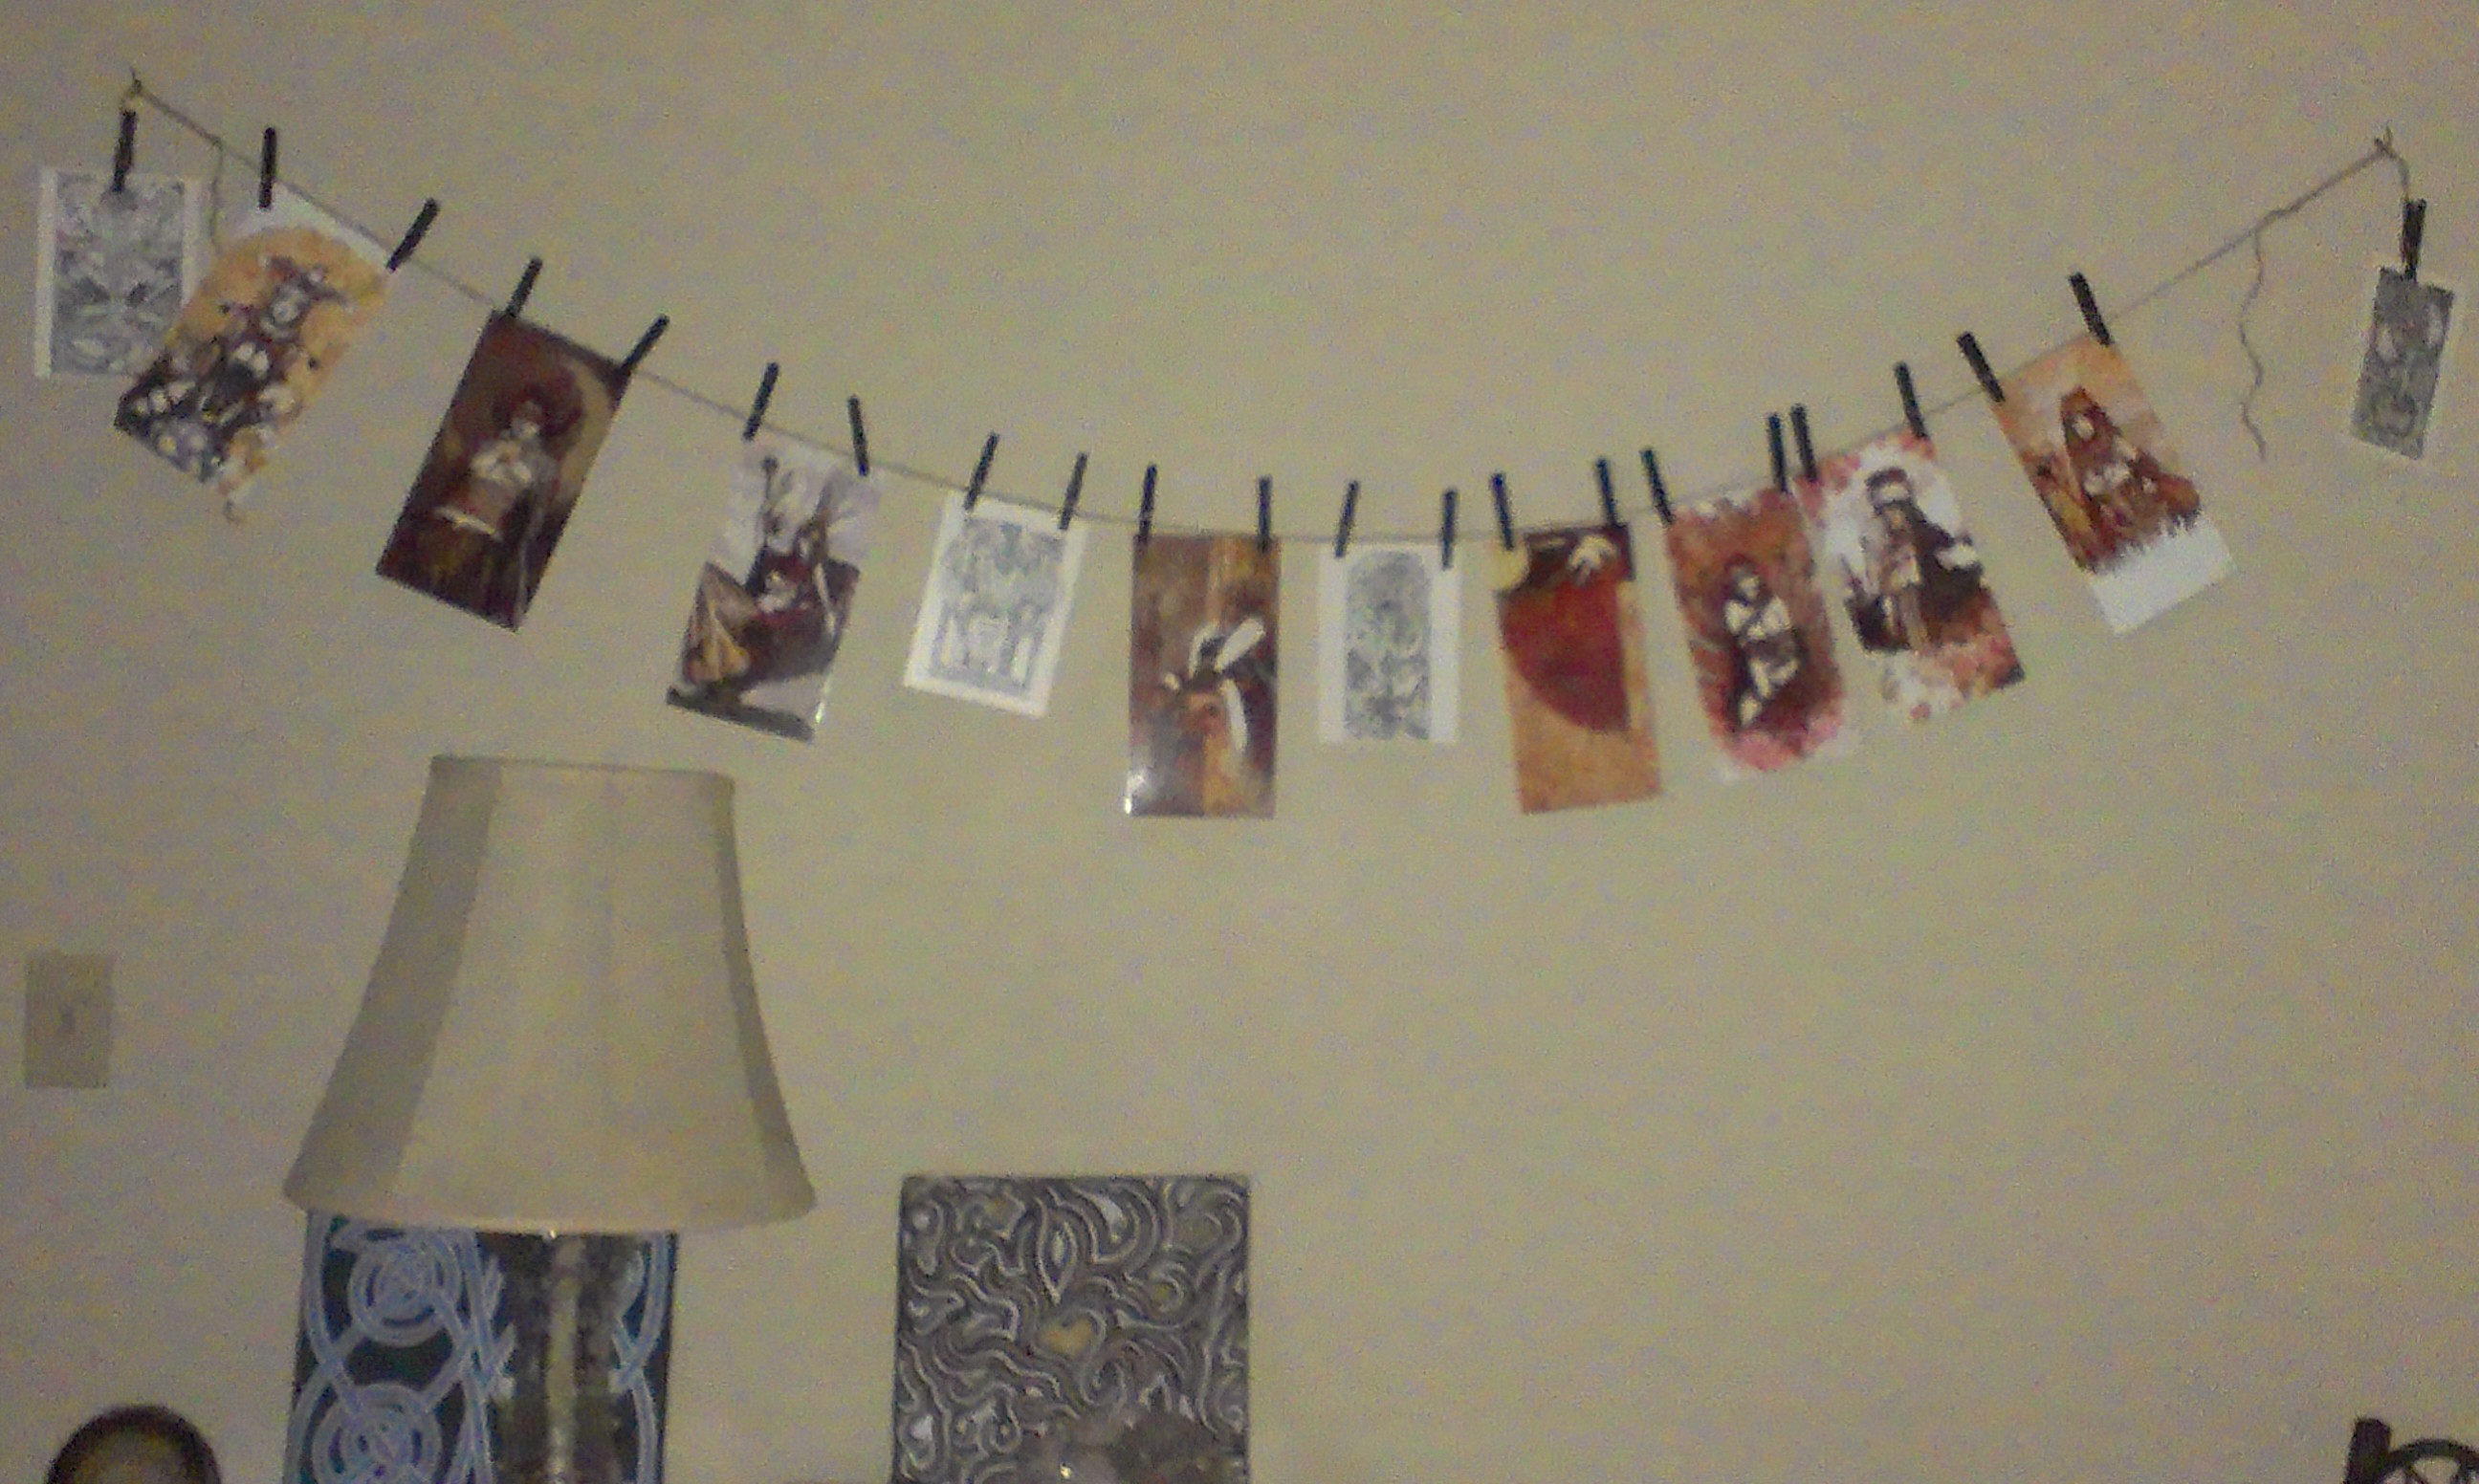
Option Three: Tarot String
-string
-clothespins
-tarot cards
-paint optional
-sealer optional
-screws, nails or hooks
You're basically making a string of Tarot cards. I would start with placing the hooks or nails, this will give you an idea of the amount of space you're using. Along with the length of string and how many clothespins you will need. Wood or plastic clothespins will work fine, if you want something to match you can paint the wood ones. Just give them a day or two to dry, especially if you're using sealer.
Place when placing your screws or hooks make sure that you're using something that will hold the weight of the cards and is something that will work with your walls. I have plaster walls meaning I had to use anchors before screwing in the coffee mug hooks. I tied tiny loops on each end of the string, hooking them over the mug hooks. I also left a bit of slack in my string to have the cards dip down a bit instead of a tight straight line.
Once your string is in place, start clipping your Tarot cards to your string. Truly the hardest part of this was picking out which Tarot cards to use. I used the large version of the Lunatic and the Tarot ReVisioned.